Gel Nail Tutorial for Beginners You Need to Try
Affiliate links support this site, learn more.
Want the easiest gel nail tutorial for beginners? These are the 7 steps for having salon-quaity gel nails without even leaving your house.

Having your nails done is one of the best ways to feel put together and instantly boost your confidence. This gel nail tutorial for beginners is all you need to do your own at home.
I have been doing these at-home gel nails for YEARS, and it is not only easy but also super affordable. You are going to learn the 7 steps to doing your very own gel nails at home, from cuticle prep to painting technique, and more.
After learning these steps, you will be able to confidently do your nails at home—no more expensive trips to the nail salon.
This post is all of the steps to a gel nail tutorial for beginners.
Best Gel Nail Tutorial for Beginners
Gel Nail Supplies List
Here is everything that you will need for the gel nail tutorial for beginners.
How to Apply Gel Nail Polish on Natural Nails
Step 1: Cuticle Prep
- Soak your hands in warm water for a few minutes
- Pat dry with a towel
- Push back the cuticles
- Trim excess cuticles very gently
Step 2: Nail Prep
- File into the desired shape
- Squoval or rounded is easy for beginners to do
- Buff nail to add texture for gel to grip

Step 3: Dehydrate Nail
- Using nail primer dehydrates the nail
- Paint an even coat all over the nail
- You do not need to be super careful with this step
- Nails will look matte and dry
Step 4: Base Coat
- Using the base coat, shake the container well, pull out the brush, and wipe off some product, so the brush is not dripping
- Starting slightly away from the cuticle, press the brush down, and paint down the middle of the nail
- Paint on either side of the middle stroke
- Avoid the cuticle and skin
- Wipe any base coat off of skin with a paper towel or nail tool
- Place in the curing lamp for 60 seconds
Step 5: Color Layers
- With the color of choice, paint a stroke on top of the basecoat in the middle
- Paint on either side of the middle stroke
- Cure in the lamp for 60 seconds
- Repeat another layer
- Cure in the lamp for 60 seconds
Step 6: Top Coat
- Layer a top coat over the final color layer, a hairline above the cuticle
- Paint a thin coat on the tips of the nails
- Cure in the lamp for 60 seconds
Step 7: Nail Oil
- Apply nail oil around the cuticle
- Massage in
- Optional – add some hand cream to hydrate hands
This gel nail tutorial for beginners is as easy as those 7 steps. Each week, keep practicing your polish technique; you will master it so quickly and always want to do your nails at home. It saves you so much time and money!
I like to paint my nails with gel polish once a week, usually on Sundays, so I have fresh hands for the week. This helps you feel so put together!
Common Gel Nail Mistakes Beginners Make (and How to Avoid Them)
- Too much product- it will not cure properly
- Skipping nail prep- the gel will not stick to the nail and peel off
- Painting too close to the cuticle- the gel will lift off the nail, start a hairline away
- Not timing curing- make sure to wait the full 60 seconds
- Peeling lifted edges– can damage the nails underneath
Aftercare for Gel Nails
- Moisturize daily- hand cream and nail oil
- Gloves- for any hands-on work like gardening or cleaning
- Reapply- 2 weeks max, I prefer weekly
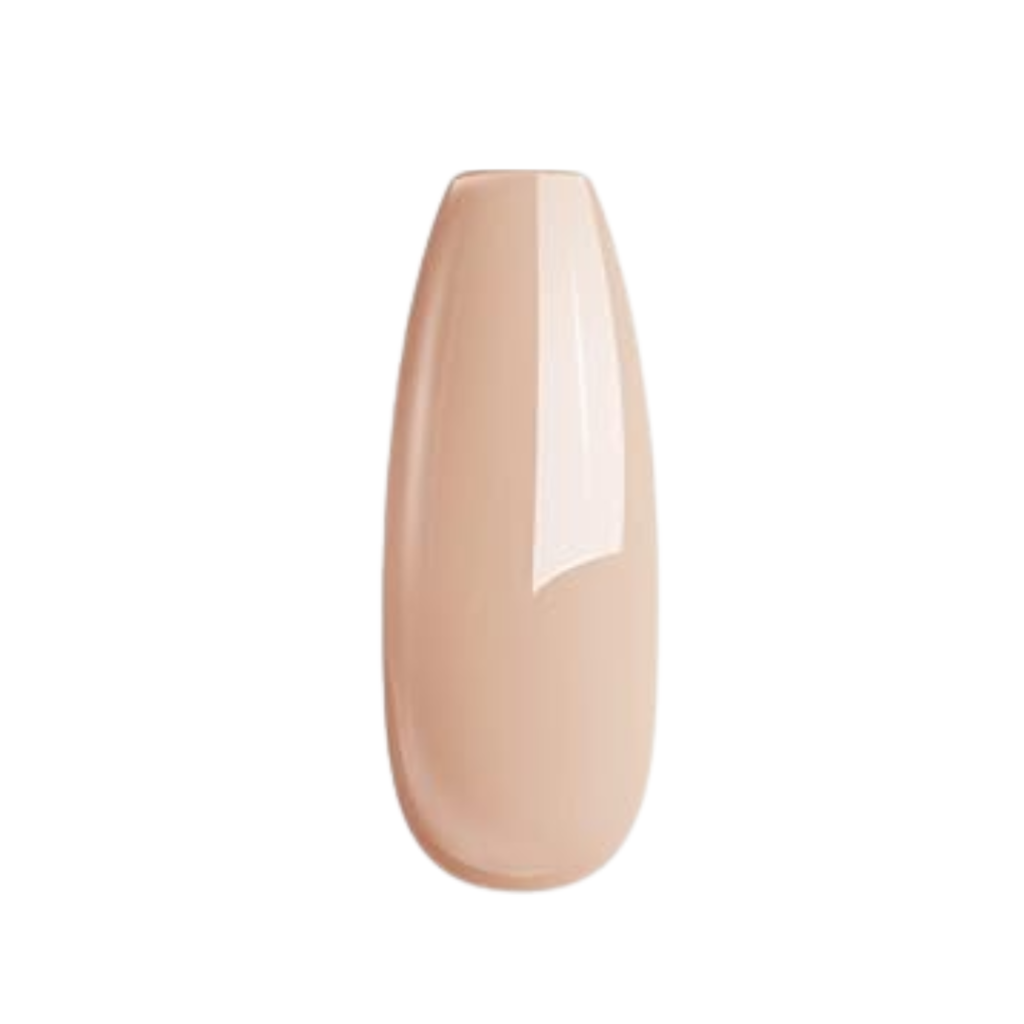
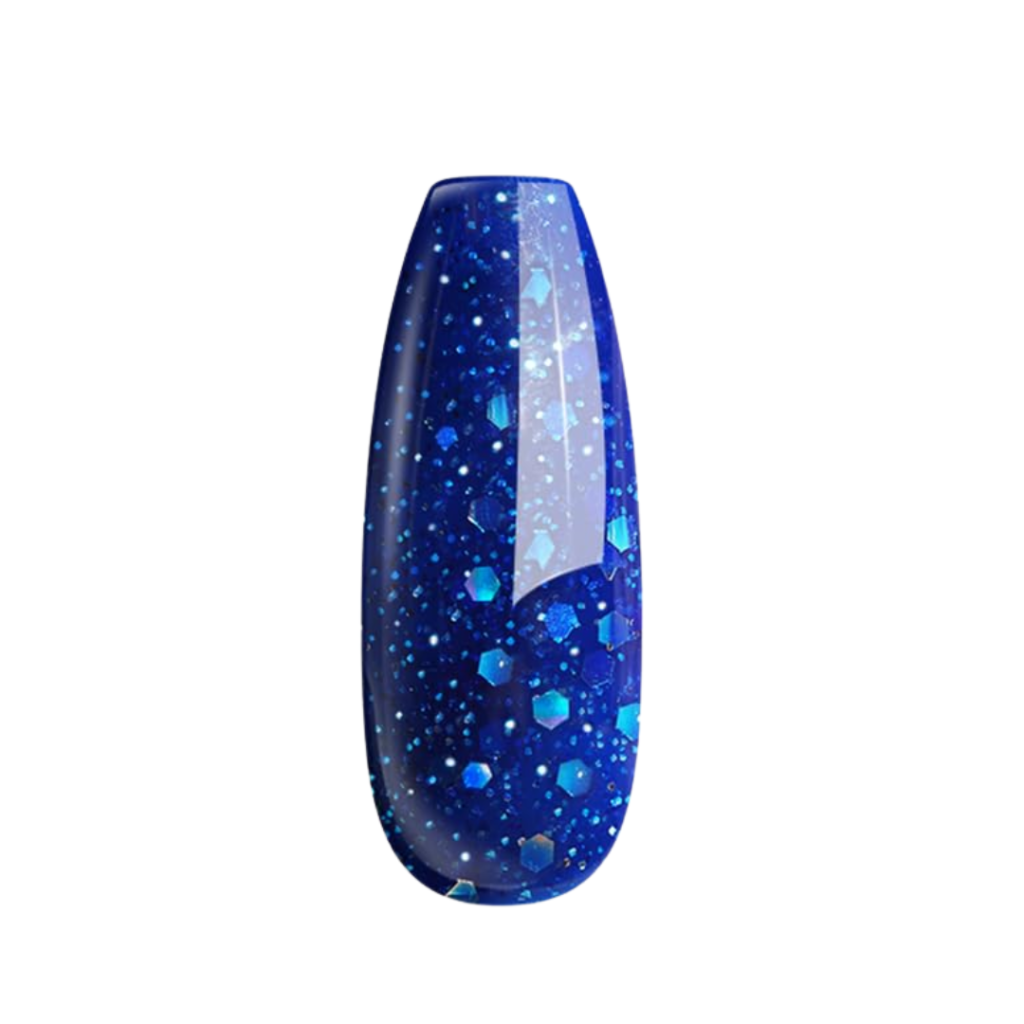
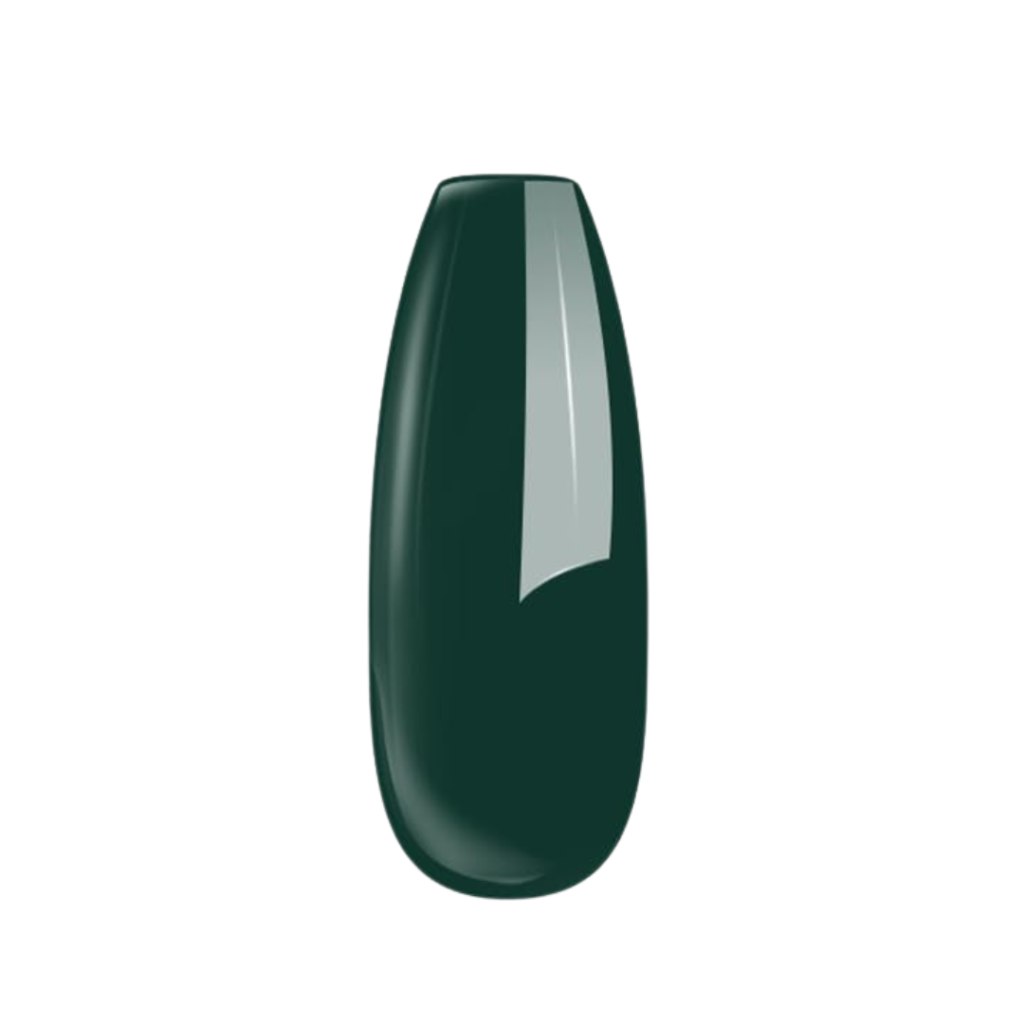
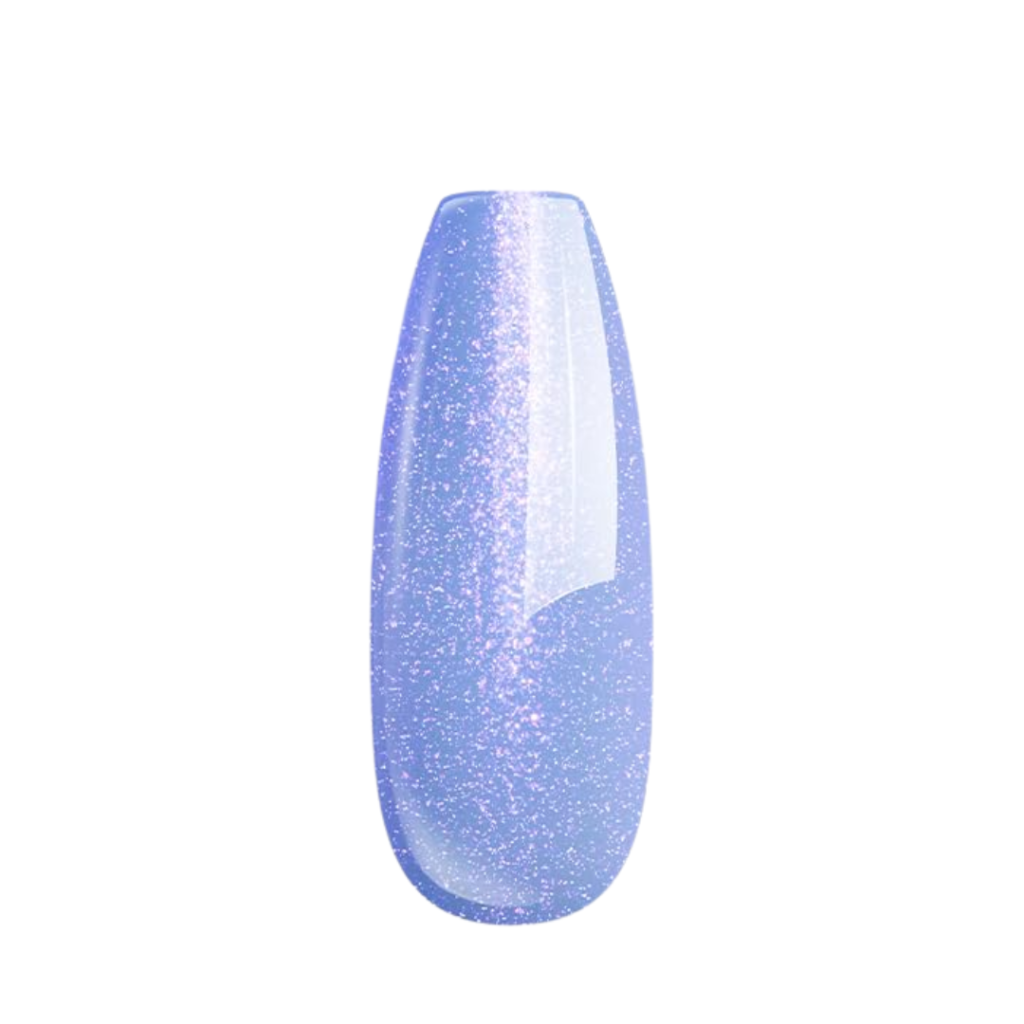
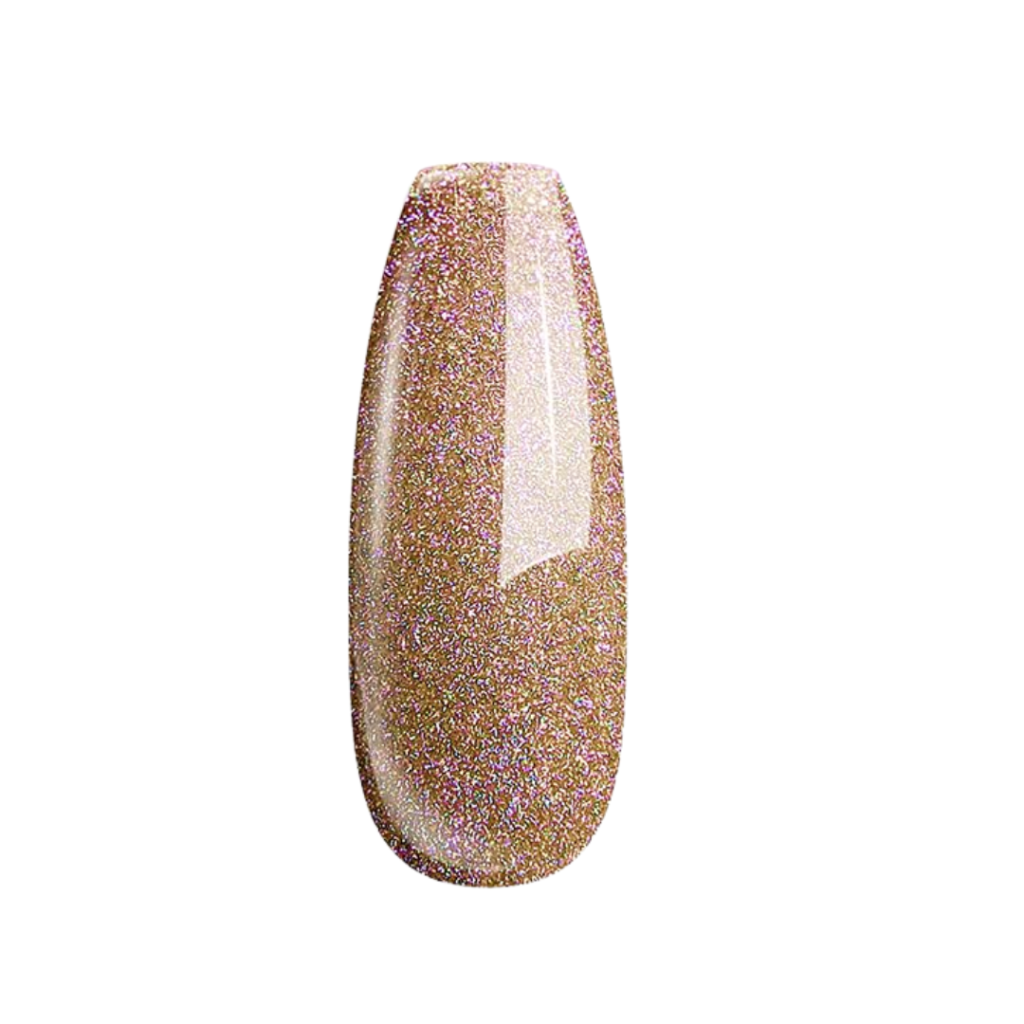
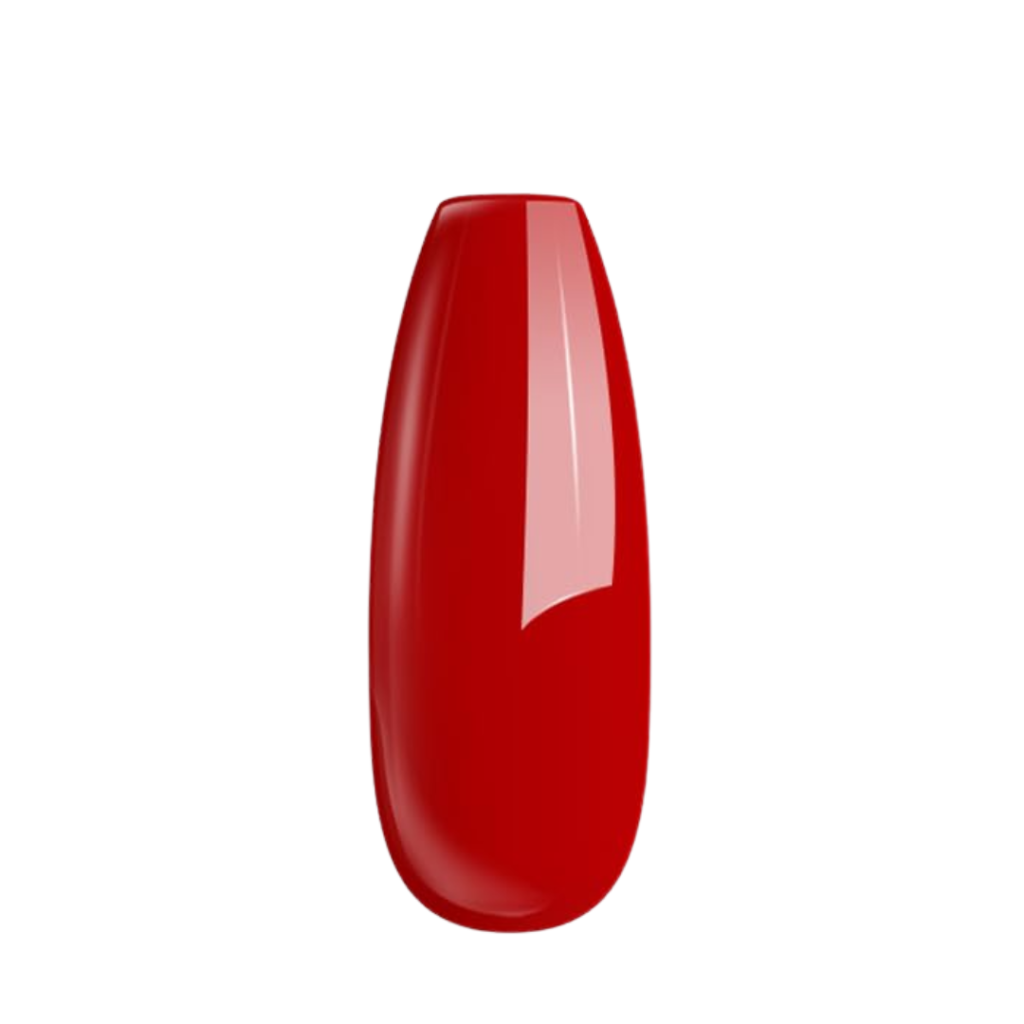
Best UV Gel Polish Brand
These are my top gel polish recommendations for beginners. When you are starting your gel polish at home journey, you want to minimize your investment. I have tried dozens of different brands of gel polish. These are my top recommendations for affordable gel polish that is decent quality for beginners.
I have also included two quality gel polish brands I love, but the price can be 4x more expensive.
How to Remove Gel Nail Polish
One of the most important steps when doing gel nail polish at home is how to remove gel nail polish. When the gel starts to lift after wear, it can be tempting to just pull it off.
I recommend using this product along with a simple file or electric file. First, file off the top layer of your gel polish. Your gel nail polish should look matte and have no shine. Apply an even coat of the remover. Let it sit on the nail for a minute or so. Wipe away with a cotton pad. If any gel polish remains, repeat the process or remove the last bits with a file.
There are other methods involving tinfoil and chemicals, but I find it way easier to use the gel polish remover.
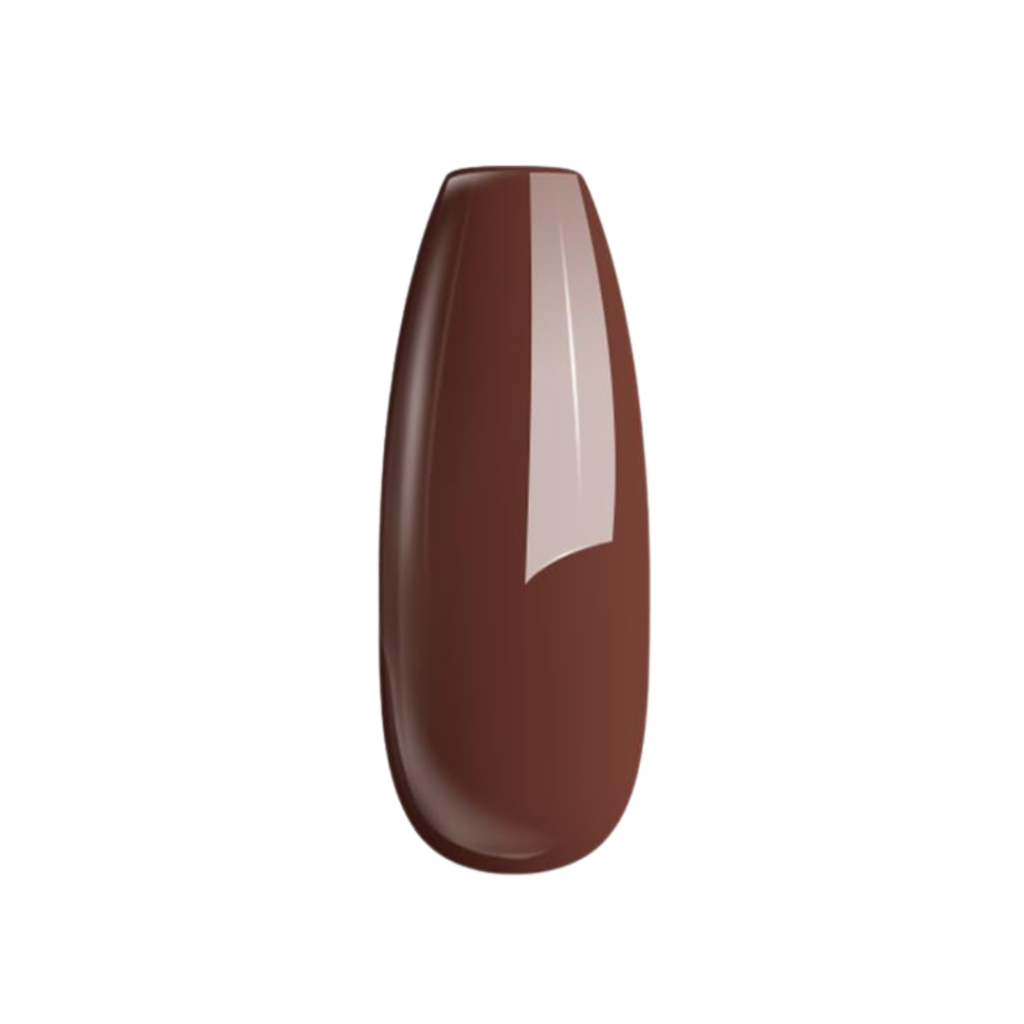
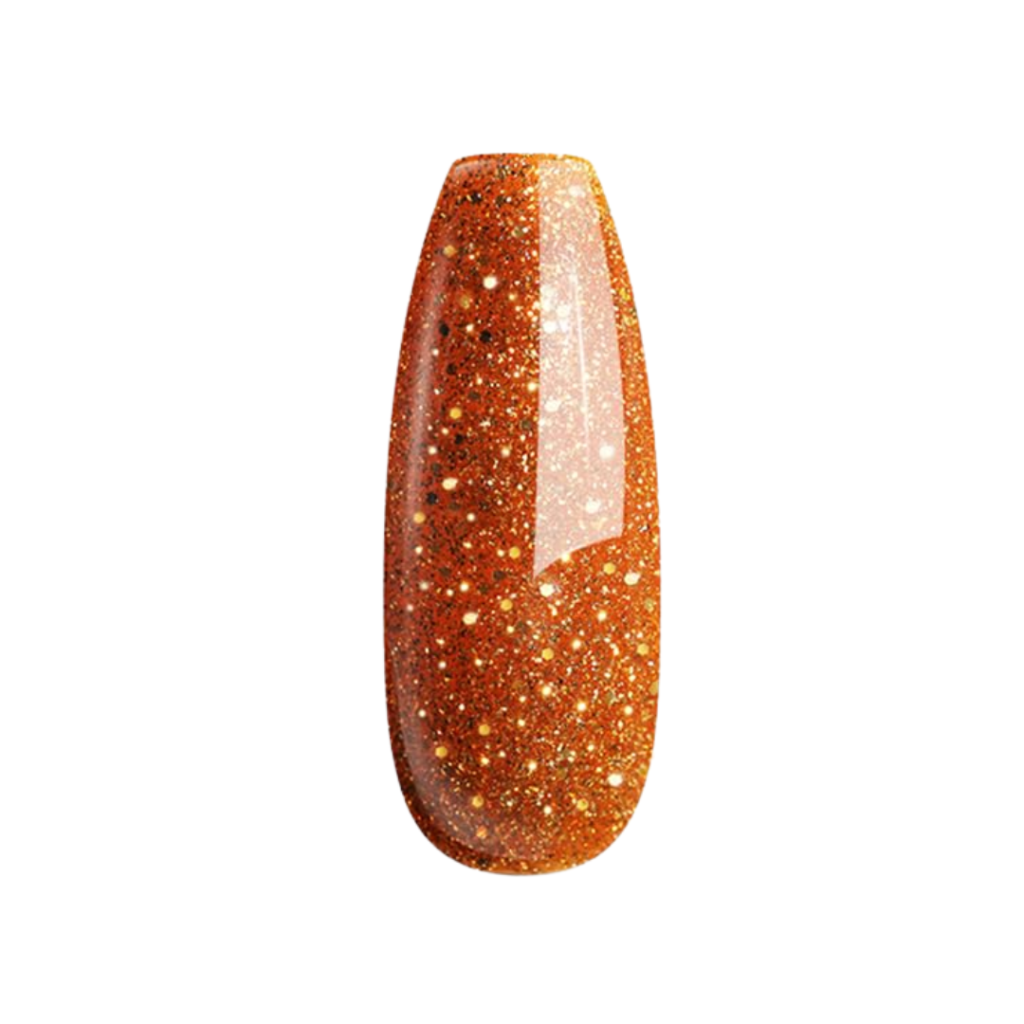
Best Fall Nail Polish Colors
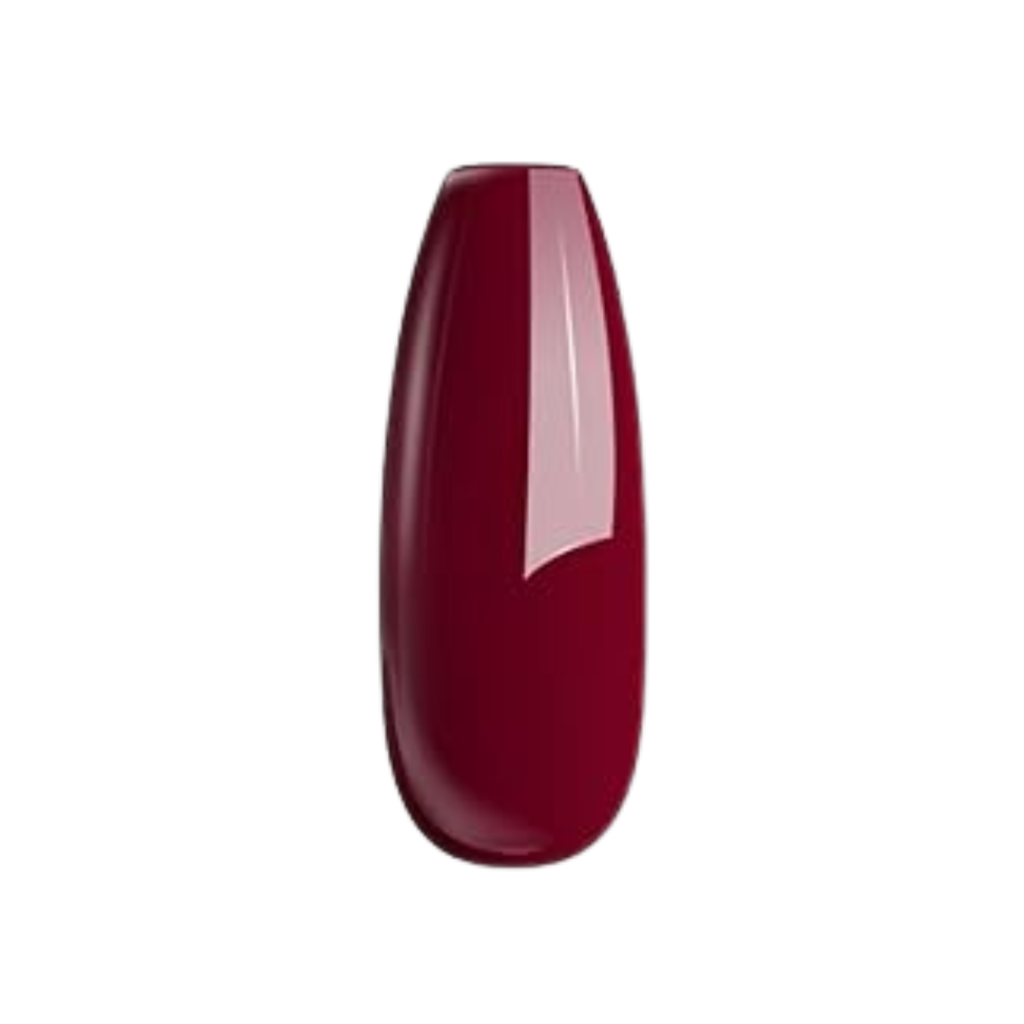
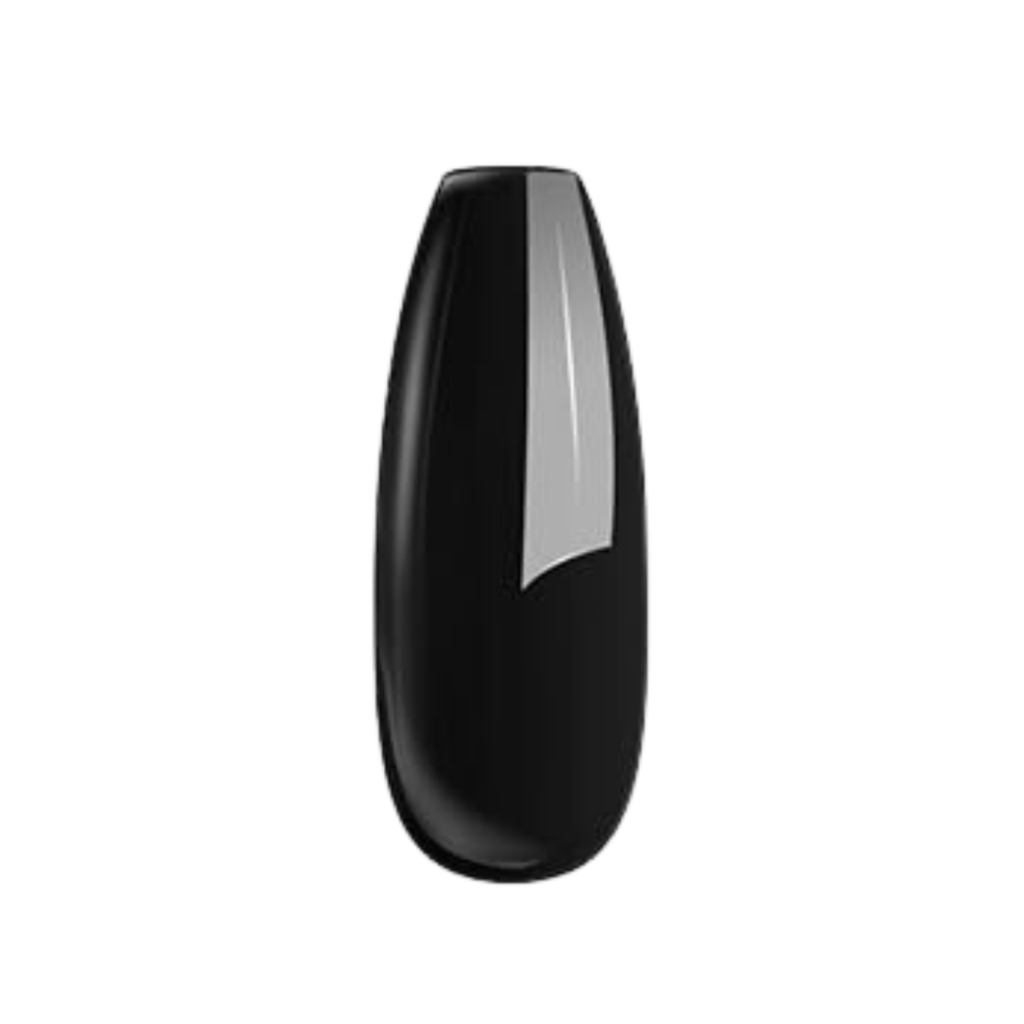
Best Winter Nail Polish Colors
Why Gel Nail Polish?
If you have ever spent any time painting your nails only for them to chip off that day, it can be so frustrating! Gel nail polish is a stronger material that can withstand some minor wear and tear. You don’t need to be careful with gel polish like you do with regular nail polish.
One great benefit of using gel polish is that it’s instantly dry after curing in the nail lamp. You don’t need to wait for any amount of time for them to dry. This is so helpful for busy days!